後端列印
前端藉由外掛呼叫 MapServer 列印功能,列印功能只支援2D。
準備列印格式
在開始以前要先準備好列印排版的檔案(Map.LLF),開啟 MapServer 安裝資料夾下的 LayoutDesignerAP.exe (64位元為LayoutDesignerAP_64.exe)
步驟 1. 於 File → New... ,再點選 Edit → New... 建立新的列印格式。
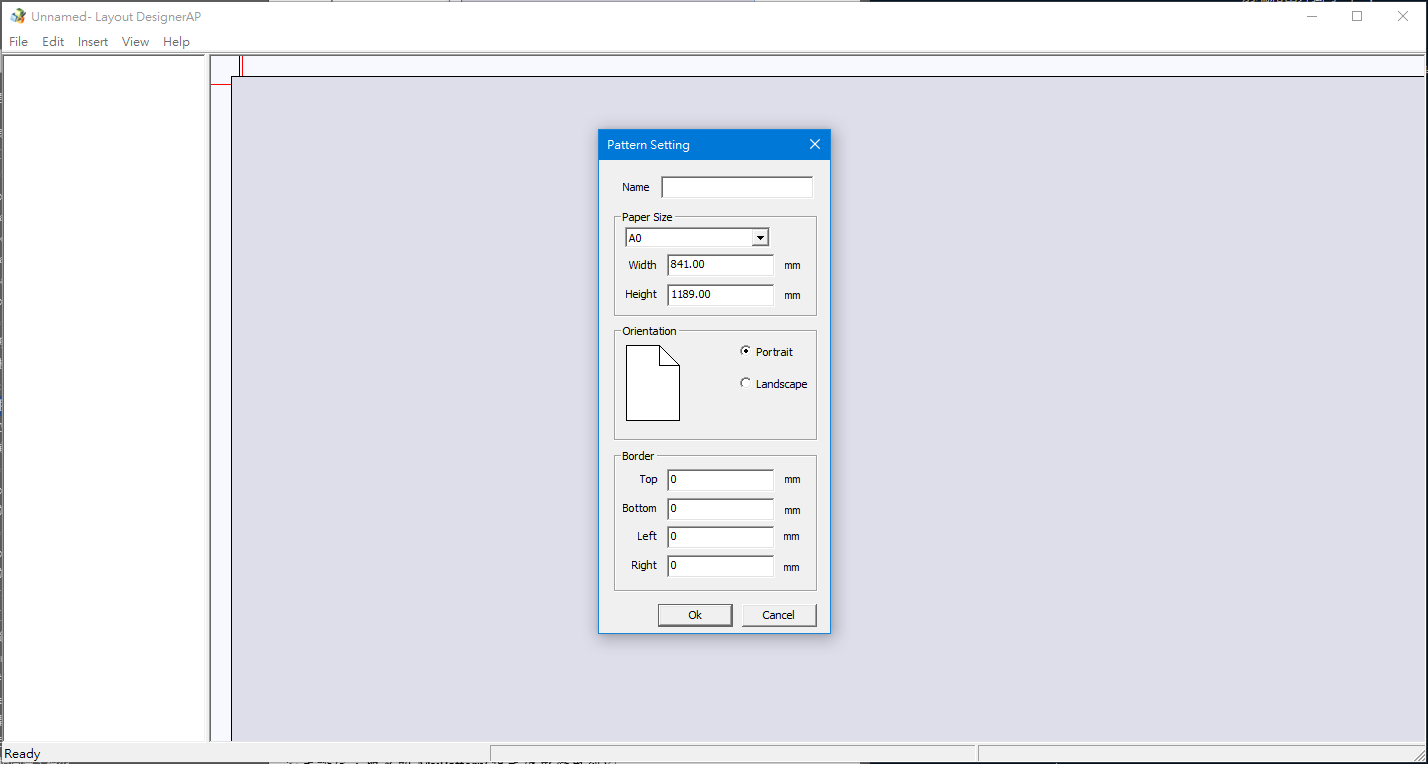
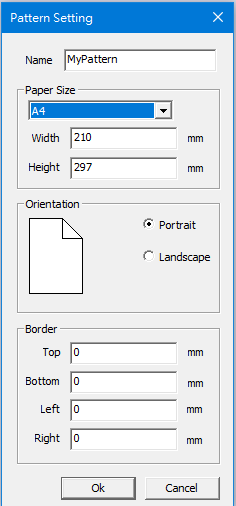
步驟 2. 設定範本名稱,取名叫 MyPattern(程式碼中會用到),完成後點選 ok。
[info] 小提示:
其餘列印設定請依個人需求選擇。
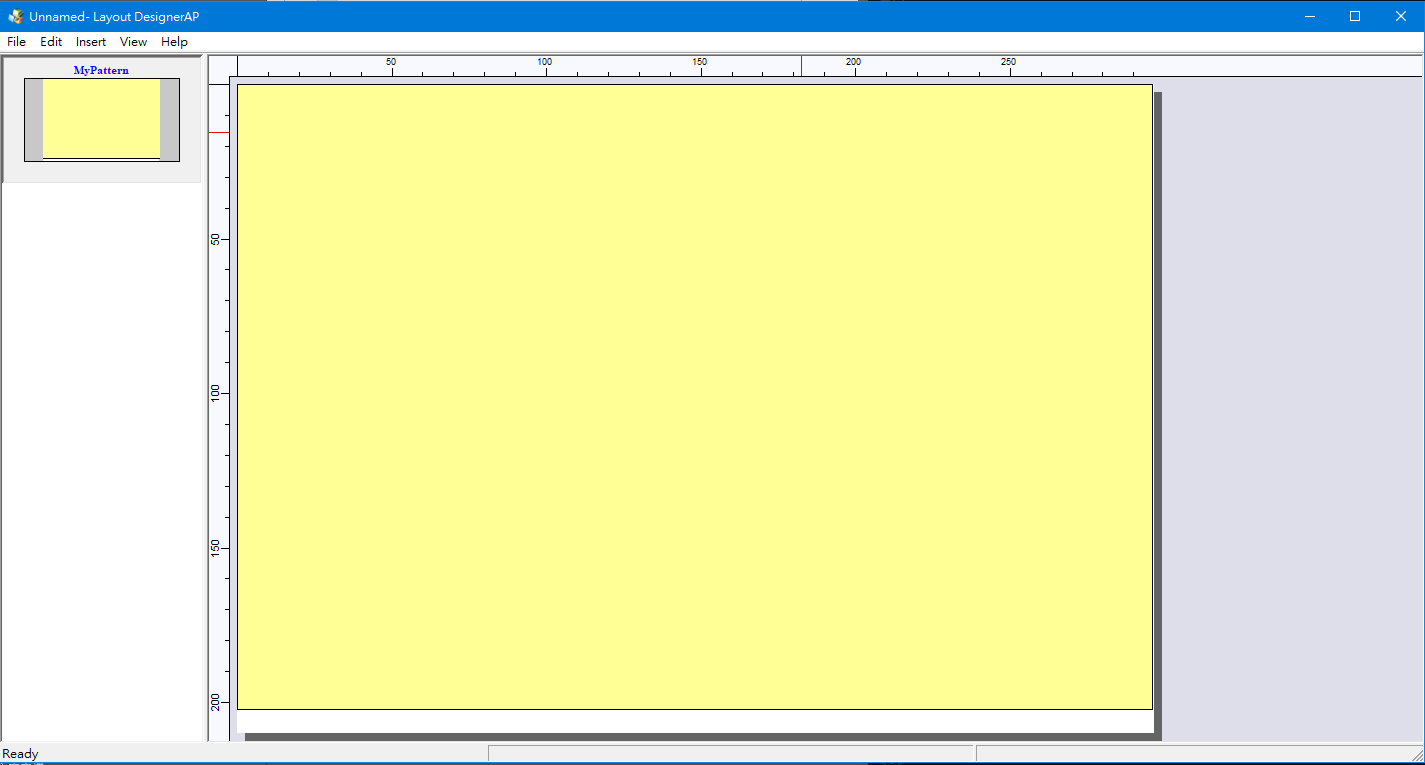
步驟 3. 選擇 Insert → Map,設定要放地圖的空間。
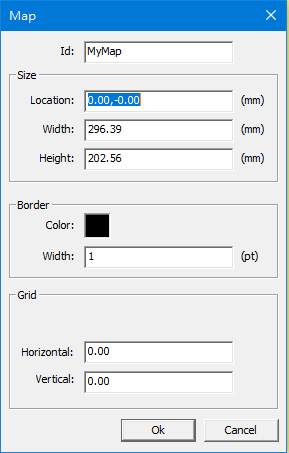
步驟 4. 對地圖(黃色區域)按下右鍵並選擇 Property,將 Id 設成 MyMap(程式碼中會用到)。
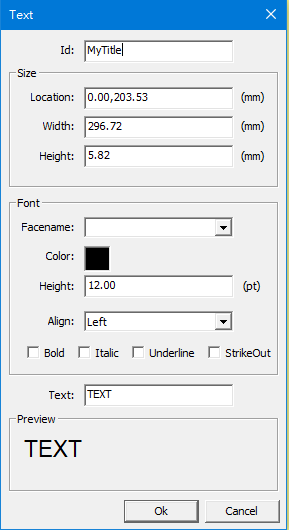
步驟 5. 選擇 Insert → Text,設定標題的位置,並對文字列按下右鍵選擇 Property,Id 設定為 MyTitle(程式碼中會用到)。
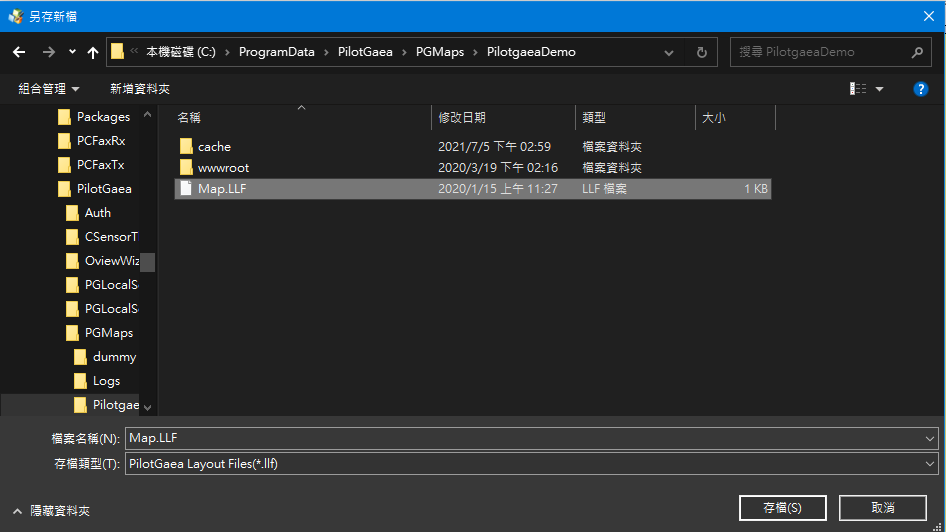
步驟 6. 將檔案儲存到地圖伺服器的設定資料夾(C:\ProgramData\PilotGaea\PGMaps\[MapServer_Name])下並取代原有的 Map.LLF 檔案,需要注意是不是正在運行中的 Map Server 的設定資料夾,如設定錯誤 Print 會回傳false。
建立列印用DoCommand外掛
參照上一章的 DoCommand 範例,建立一個 DoCommand 外掛呼叫 CGeoDatabase::Print。
private bool Print(CGeoDatabase DB, string SessionID, VarStruct InputParm, out VarStruct RetParm) {
    RetParm = new VarStruct();
    RetParm["success"].Set(DB.Print(InputParm));

    return true;
}
由前端進行呼叫
在這裡我們以 web 版本的 client 進行呼叫,將使用第二章最後的範例程式碼繼續新增內容。 程式碼
步驟 1. 新增一個按鈕 Print。
<div id="MyControl" style="position: absolute;z-index: 1;">
    <button id="print">Print</button>
</div>
步驟 2. 新增按鈕事件。
document.getElementById('print').onclick = function() {
    var docommandUrl = "http://127.0.0.1:8080/docmd?cmd=Print";
    var inputParam = PrintInfo();
    var layerInfo = mapDoc.DoCommand(docommandUrl, inputParam, console.log, false, 0)
};
步驟 3. 再補上 PrintInfo 函式。
function PrintInfo() {
    var myMap = {}
    myMap["EPSG"] = 3857;
    myMap["LayerName"] = "範例影像圖層";
    myMap["Viewport"] = mapView.Viewport.ToGeoJSON();

    var myTitle = {}
    myTitle["Text"] = "Taiwan";

    var printInfo = {}
    printInfo["DocName"] = "DocName";
    printInfo["LayoutName"] = "MyPattern";
    printInfo["MyMap"] = myMap;
    printInfo["MyTitle"] = myTitle;

    var parm = {}
    parm["PrintInfo"] = printInfo
    parm["ArrayLayerData"] = JSON.parse(mapDoc.GetLayerInfoJson("範例影像圖層"));

    return parm;
}
完成後點擊前端圖台新增的 Print 按鈕即可跳出儲存為 PDF 的存檔視窗。
